Example plugin code
A plugin is a standard Django/Python package. As quick example, let’s create a webshop page.
The plugin can be created in your Django project, in a separate app
which can be named something like pagetypes.shoppage or mysite.pagetypes.
Example code
For the pagetypes.shoppage package, the following files are needed:
__init__.py, naturally.models.pyfor the database model.page_type_plugins.pyfor the plugin definition.
models.py
The models in models.py needs to inherit from the Page class,
the rest is just standard Django model code.
from django.db import models
from fluent_pages.models import Page
from myshop.models import ProductCategory


class ProductCategoryPage(Page):
    product_category = models.ForeignKey(ProductCategory)

    class Meta:
        verbose_name = 'Product category page'
        verbose_name_plural = 'Product category pages'
This Page class provides the basic fields to integrate the model in the tree.
page_type_plugins.py
The page_type_plugins.py file can contain multiple plugins, each should inherit from the PageTypePlugin class.
from django.conf.urls import patterns, url
from fluent_pages.extensions import PageTypePlugin, page_type_pool
from .models import ProductCategoryPage


@page_type_pool.register
class ProductCategoryPagePlugin(PageTypePlugin):
    """"
    A new page type plugin that binds the rendering and model together.
    """
    model = ProductCategoryPage
    render_template = "products/productcategorypage.html"

    # Custom URLs
    urls = patterns('myshop.views',
        url('^(?P<slug>[^/]+)/$', 'product_details'),
    )
The plugin class binds all parts together; the model, metadata, and rendering code.
Either the get_response() function can be overwritten,
or a render_template can be defined.
The other fields, such as the urls are optional.
productcategorypage.html
The default get_response() code renders the page with a template.
This can be used to generate the HTML:
{% extends "pages/base.html" %}

{% block headtitle %}{{ page.title }}{% endblock %}

{% block main %}
  <p>
    Contents of the category: {{ page.product_category }} ({{ page.product_category.products.count }} products).
  </p>

  <div id="products">
      ....
  </div>
{% endblock %}
Note how the page variable is available, and the extra product_category field can be accessed directly.
Wrapping up
The plugin is now ready to use.
Don’t forget to add the pagetypes.shoppage package to the INSTALLED_APPS, and create the tables:
./manage.py syncdb
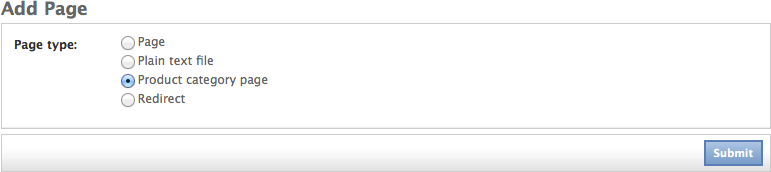
Now, the plugin will be visible in the “Add page” dialog:
After adding it, the admin interface will be visible:
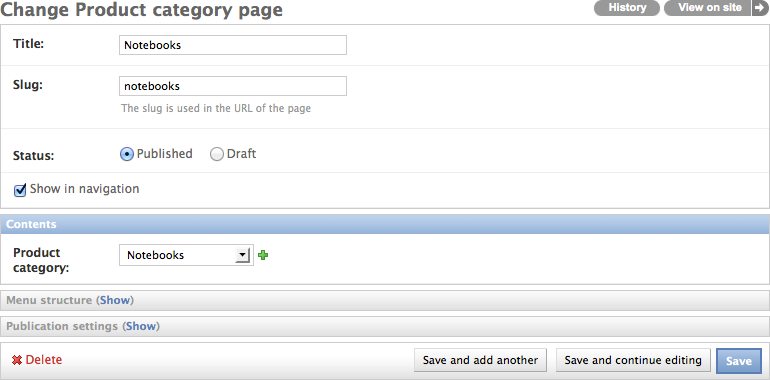
The appearance on the website depends on the site’s CSS theme, of course.
This example showed how a new plugin can be created within 5-15 minutes! To continue, see Customizing the frontend rendering to implement custom rendering.